A long time ago, in a land far away my husband was a bachelor....
Not the sleaze-bucket kind featured on TV, (am I the only one in the world that finds that whole concept disgusting?!) but rather the my-house-has-hand-me-down-furniture-from-college-and-I-don't-know-what-to-do-with-it kind of bachelor... The answer to that question the majority of the time was burn it! Seriously... Any furniture that was upholstered in any way, shape, or form did not survive our union... With good reason! Anything laminate, we said adios to. What remained from his bachelor days were solid wood pieces, with good bones that needed some TLC.
Presenting exhibit A...
My wonderful husband loved this nightstand, and the matching dresser.
They were substantial, traditional, solid pieces. They were also in dire need of a face lift, so after much begging I finally got the go ahead to paint them.
First thing I did was remove the old hardware, and fill in the old holes with wood filler. I let the filler dry over night.
The next day, I sanded the crap out of the drawers and the tops of the dresser, and nightstand. I didn't sand the sides of the pieces because they were in pretty decent shape, and that's the beauty of chalk paint... There's not a whole lot of prep!
I used a home-made chalk paint, because I am not going to pay a bazillion dollars for something that will give me the same result (sorry Annie Sloan)
I went to Lowes and picked out a flat, indoor paint that tickled my fancy, and some plaster of Paris.
When I got home I mixed one part plaster of Paris with warm water, and then 3 parts paint. It is important to mix the Plaster of Paris with the water first, otherwise you end up with a globby mess.
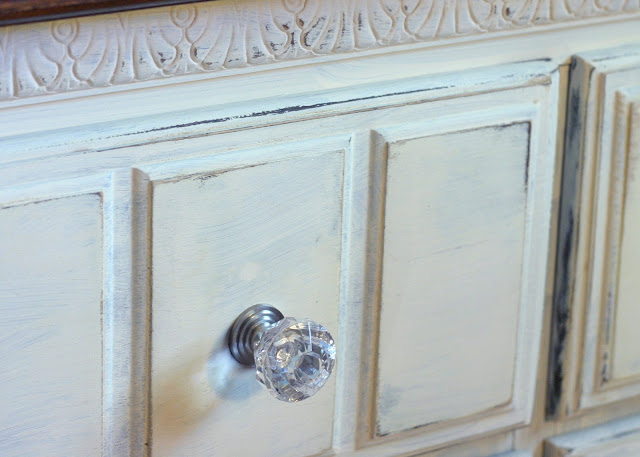
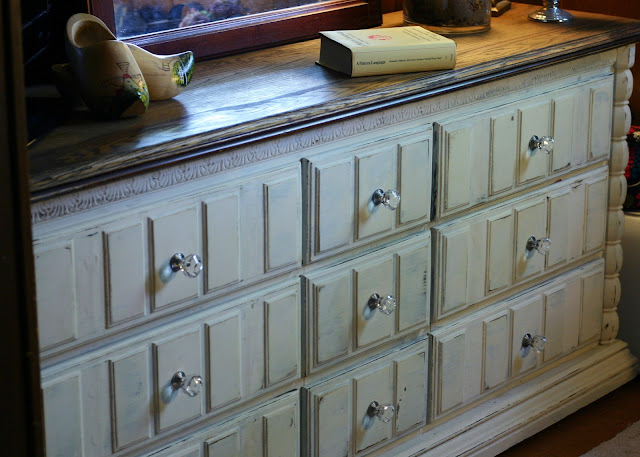
After I mixed my chalk paint I got to painting. I left the tops unpainted. I love the contrast of wood with paint. I only did one coat on these pieces because I liked how the blue from the old stain came through.
FYI- this paint dries super quick... Like 30-45 minutes quick.
After the paint dried I took my trusty palm sander, and skimmed over the areas I wanted to distress.
Once I got the pieces distressed I stained the tops of the pieces. I picked a dark chestnut stain that contrasted the cream paint nicely.
Last, but certainly not least was new hardware! When I was getting the paint I saw these knobs that were everything I wanted for this piece. Classic. Southern. Whimsical.
The pulls reminded me of the antique glass doorknobs, and I think they are perfect!
Actually, I lied... There was one more important step... Preserving the pieces.
To do this I used a plain and simple finishing wax by Minwax, and I got my inner karate kid on. Wax on, wax off....
All in all, I could not be more pleased with the transformations.


No comments:
Post a Comment